Have you been following along with my Work Well with an Interior Design Professional series? (Need to catch up? You can read Part 1 here and click here for Part 2.) If you work for a new home builder or condo developer, or if you’ve ever thought of hiring an interior design professional to help you with a personal project or renovation, this series is for you!
From being in this business for nearly two decades, one thing I know to be true is that many people don’t understand the process and steps involved in working with an interior design professional. Having this knowledge will help you know what to expect and will ensure a smoother experience.
Read on to learn more, and feel free to COMMENT BELOW to let me know what you think or if you have any questions!
Working Well with an Interior Design Professional Step 3: The Design Phase
If you’ve been following along, I’ve already covered Step 1 of working with an interior design professional as well as Step 2. These were all about first steps, establishing the scope of work, collecting inspiration, and getting started, and then about establishing the interior design concept.
Once these steps have been completed, we’re ready to move on to Step 3. This typically happens about 3-4 weeks after Step 2 is complete, depending on the scope of work.
This is where things really start moving and coming to life. This phase is perhaps the most exciting of all: the design phase! We’ve got the concept nailed down in Step 2, so now we can dive into the design phase.
The intent of this phase is to start making the design direction come to life (with samples, fixtures, and all the juicy details) and to continue making sure both the client and the designer are on the same page.
Here’s a breakdown of Step 3 and everything that’s included in it.
Step 3
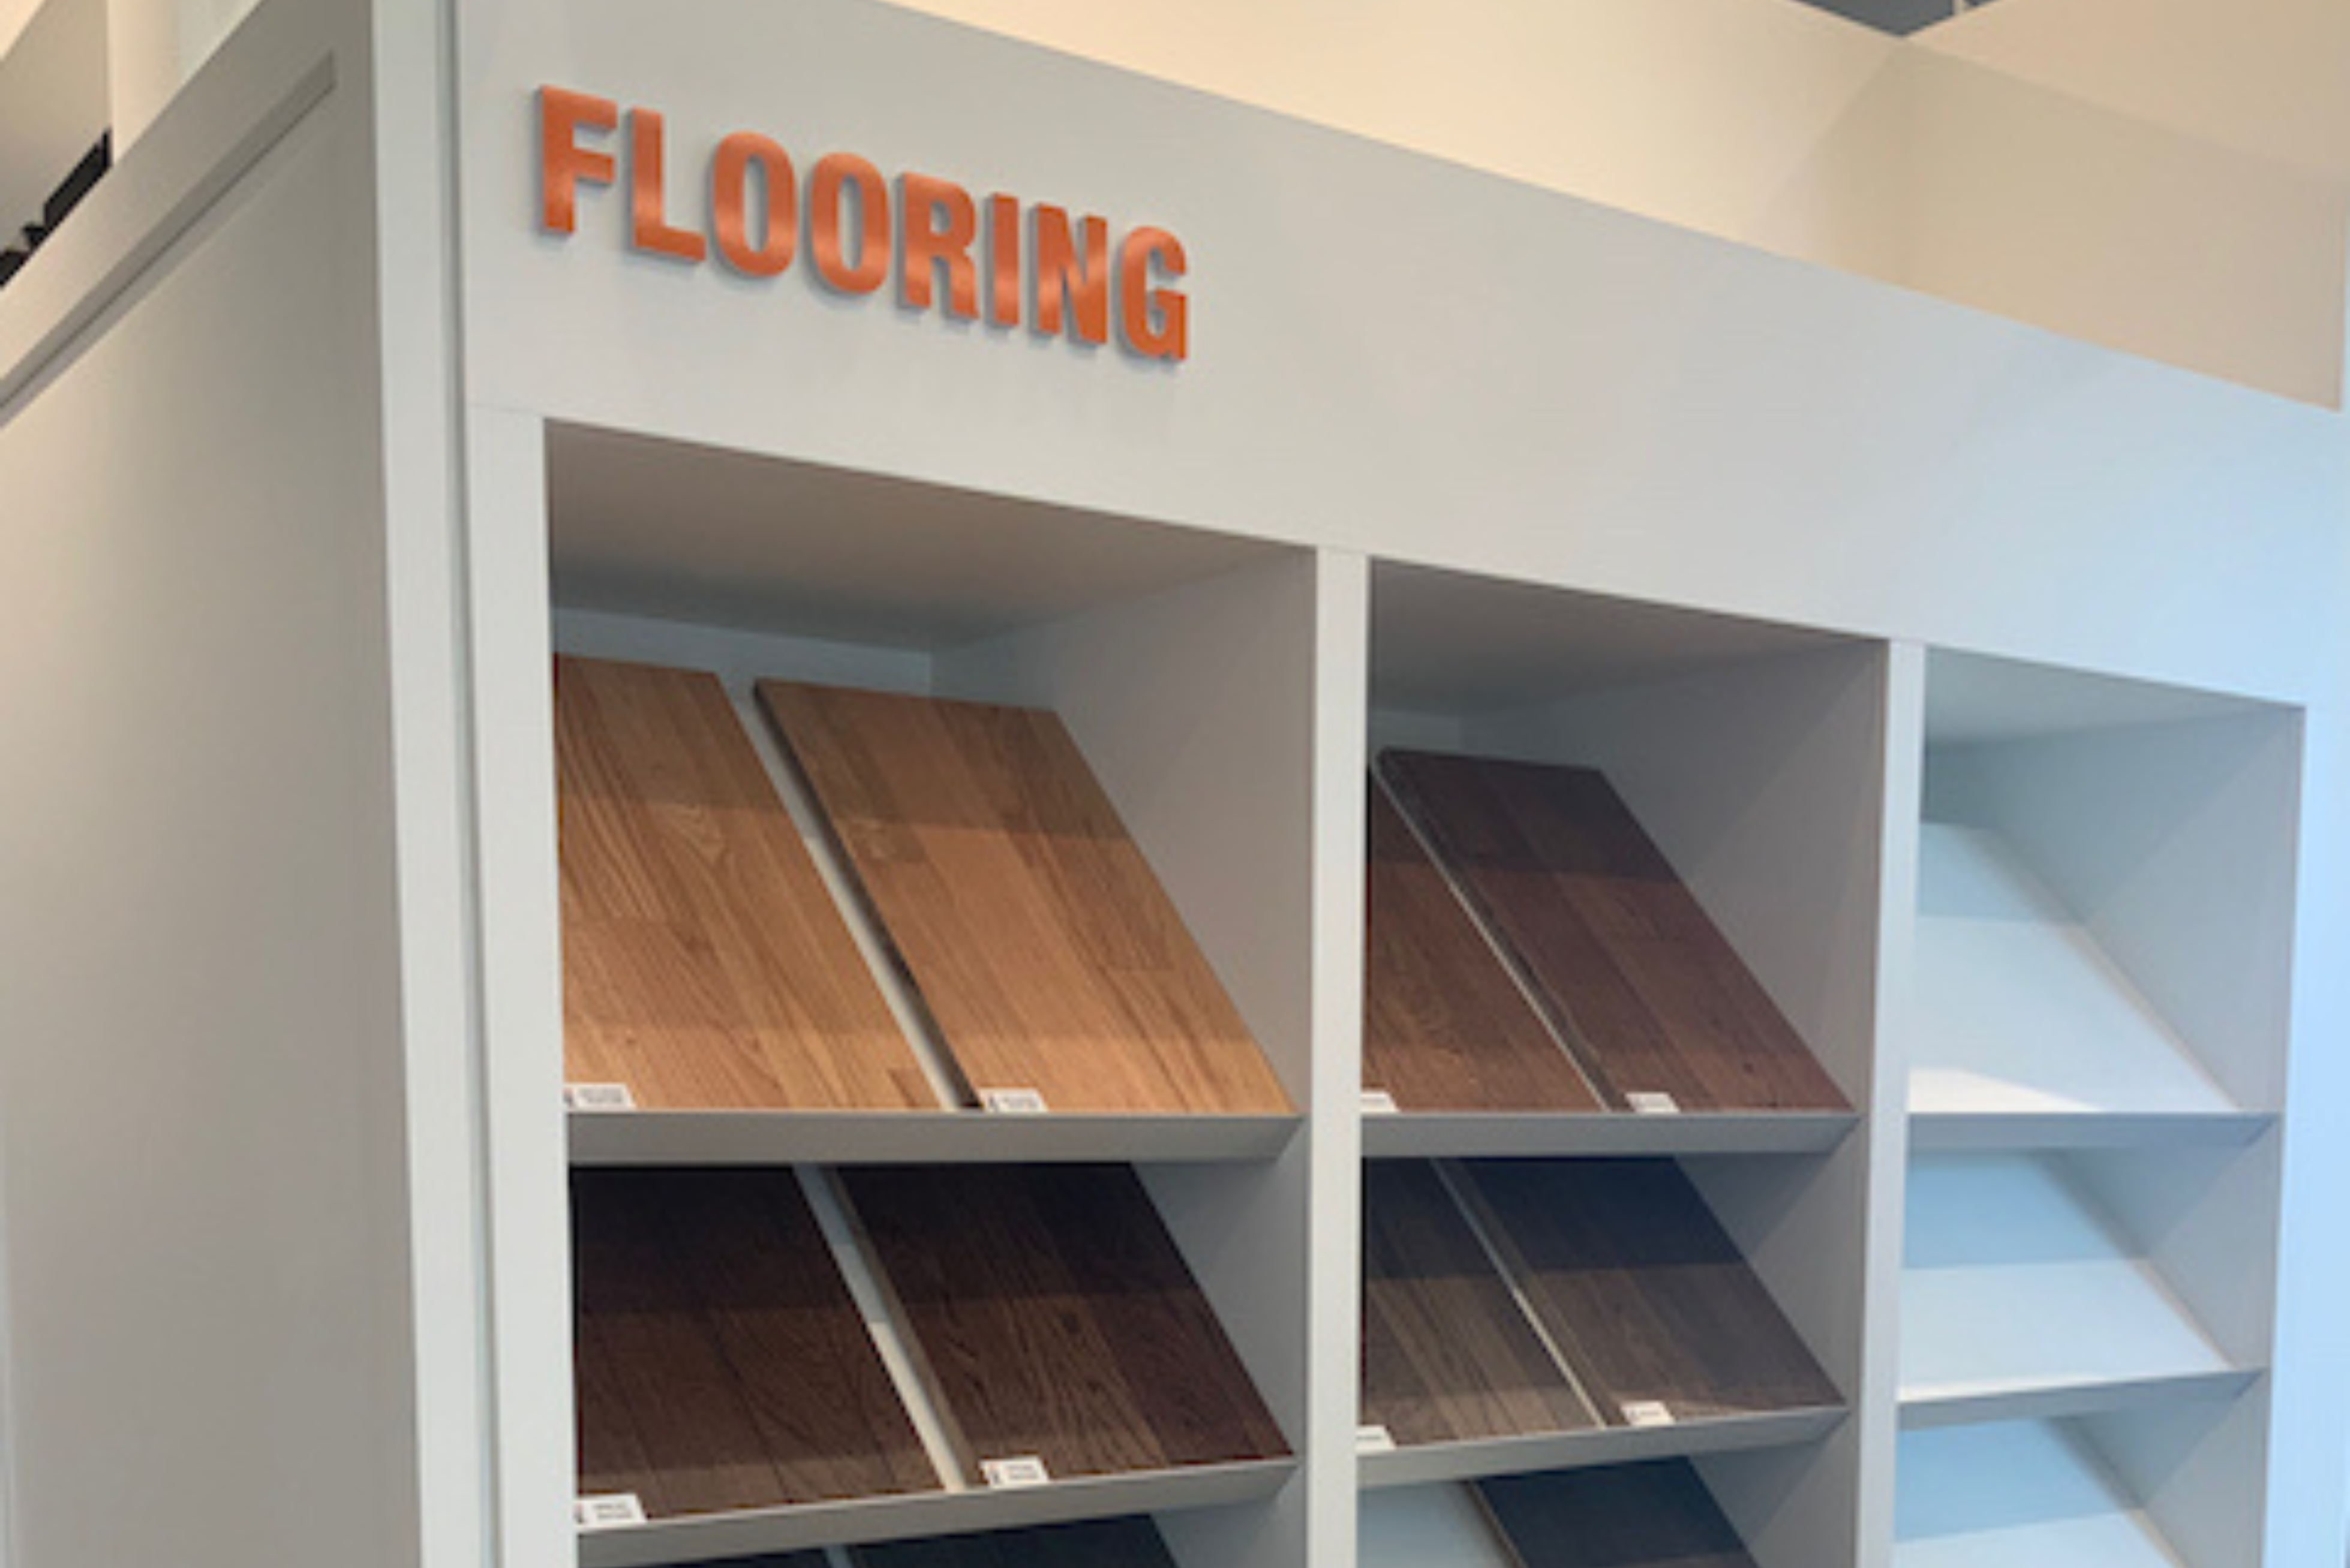
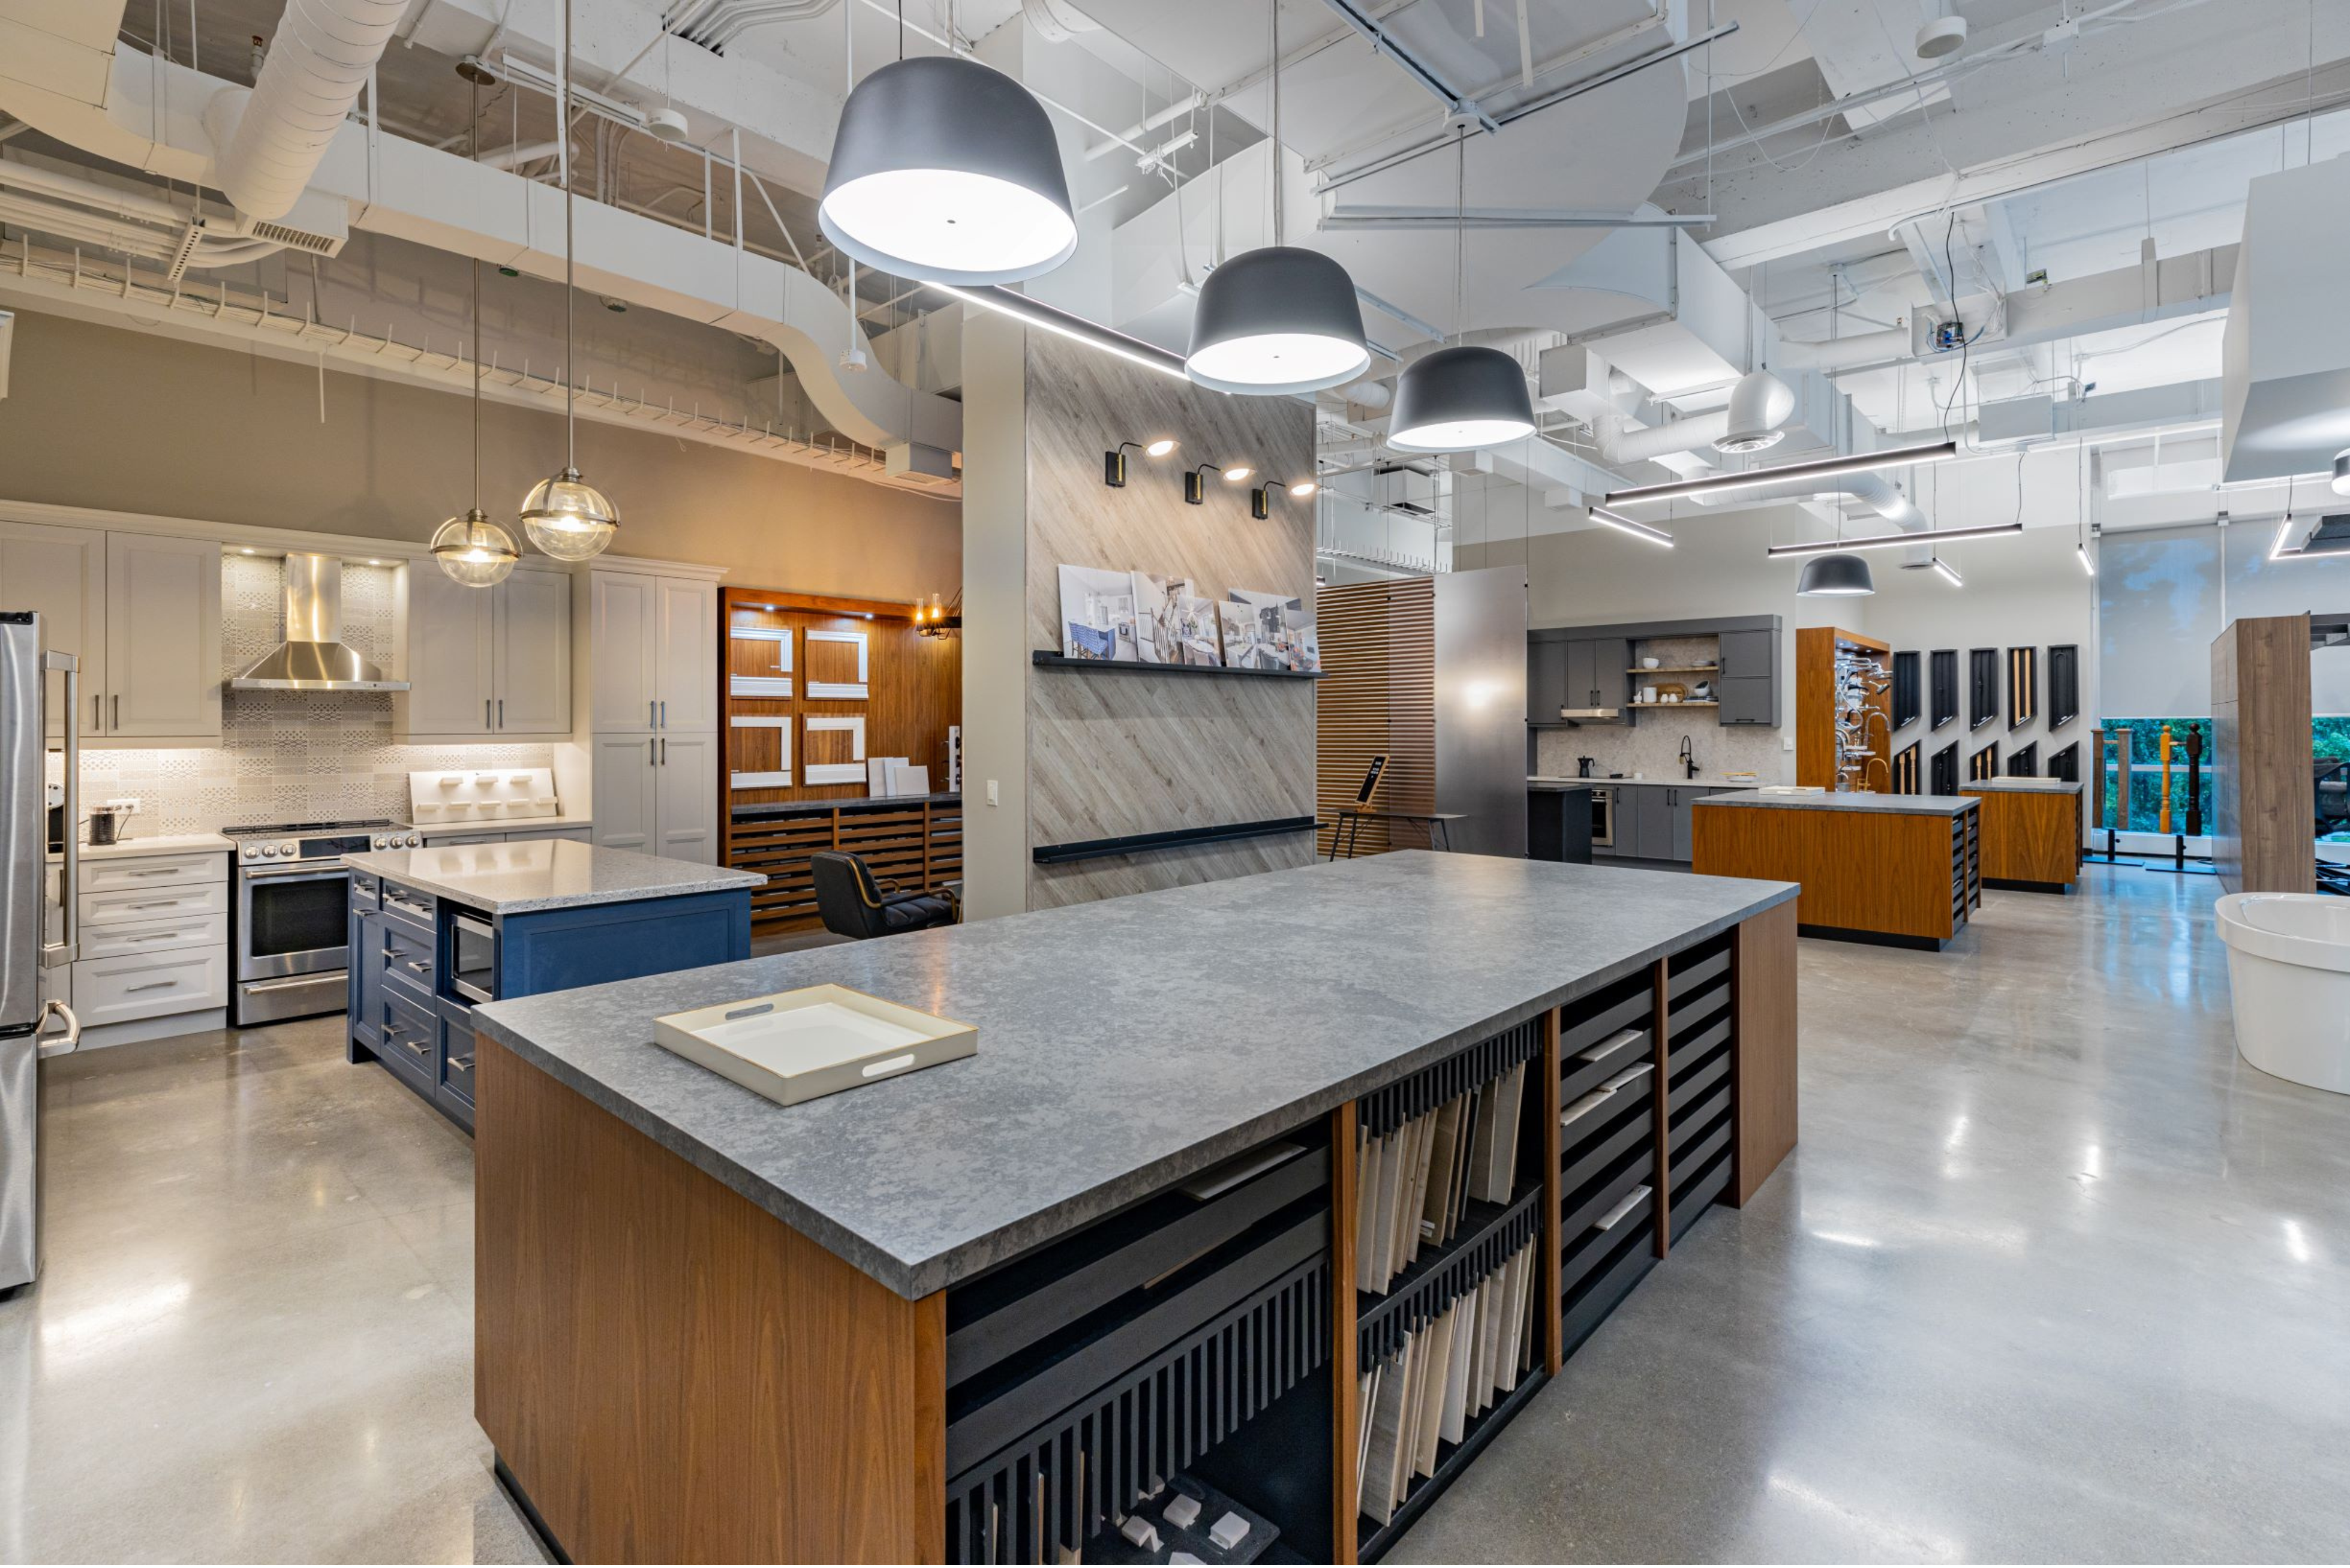
✨ We start off by gathering design elements for preliminary presentation. These may include:
- Finish samples (floor and wall tiles, flooring, wallpaper, trim and molding, doors and hardware, etc.)
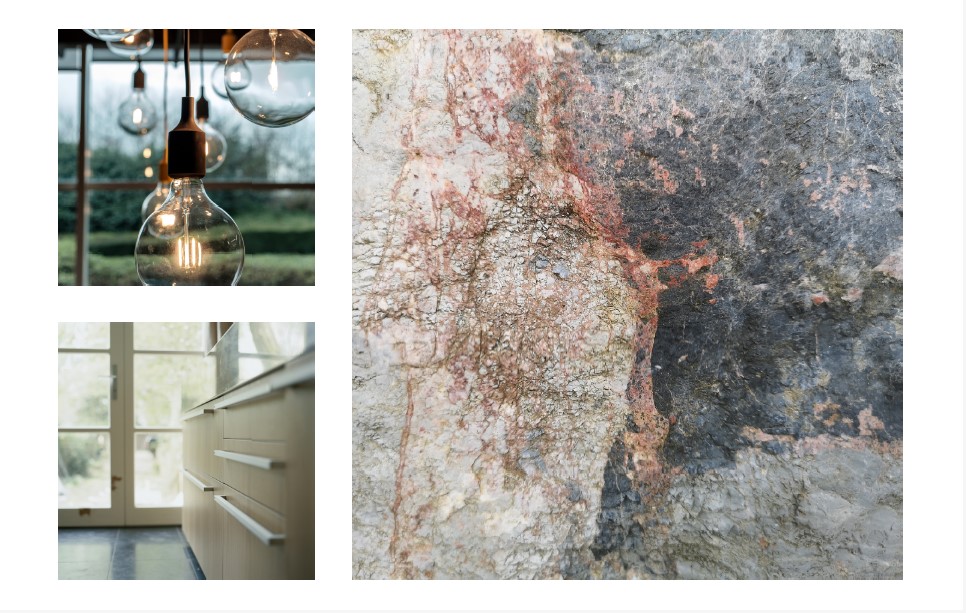
- Fixtures (task lights, decorative light fixtures, plumbing, etc.)
- Ceiling details and treatments
- Custom millwork pieces (cabinetry, custom built-ins, etc.)
This is where our vision and the interior design concept start coming to life. The conceptual becomes concrete, and we’re selecting all the potential finishes, fixtures, and details that will make up the finished product. Exciting!
✨ Next, we’re ready for the Meeting/Design Concept Presentation #1. At this preliminary client presentation, the interior design professional’s goal is to show you what they’re envisioning and to get your feedback. The presentation can be in the form of a face-to-face meeting or an electronic design package.
Here are some of the important details that the designer and the client may review and discuss in this preliminary presentation:
- Inspiration images
- Finish samples
- Plans and elevations
- Perspective sketches or 3D drawings (only when necessary to communicate the design intent; additional fees may be required)
Once the client has given their input, the direction should be clear on finalizing the design phase. At the end of this phase, both the interior design professional and the client should be thrilled with the finishes, fixtures and details decided upon. They should all sing together – this is where the magic happens!
That’s it for Step 3, and we can now get started on Step 4 of the design process – the drawing phase.
Stay tuned to learn more about Step 4!