You may have caught the first part of this series a while back. If you work for a new home builder or condo developer, or if you’ve ever thought of hiring an interior design professional to help you with a personal project or renovation, this series is for you!
From being in this business for nearly two decades, one thing I’ve discovered over and over again is that many people don’t understand the process and steps involved in working with an interior design professional. Having this knowledge will help you know what to expect and will ensure a smoother experience.
Knowledge is power. Read on to learn more!
Working Well with an Interior Design Professional Step 2: Solidify the Design Direction
A while back, I covered Step 1 of working with an interior design professional. It was all about first steps, establishing the scope of work, collecting inspiration, and getting started. Once the letter of agreement is signed and the interior design retainer deposit has been received, we’re ready to move on to Step 2. This typically happens about 1-2 weeks after the initial meeting that was discussed in Step 1.
This is where things get exciting! This phase is all about conceptual interior design. Before we dive into the design phase, we go deep on concept.
The intent of this phase is to solidify the design direction and to make sure both the client and the designer are on the same page.
Here’s a breakdown of Step 2 and everything that’s included in it.
Step 2
✨ We start off by formulating the preliminary space plan. Whether the design project is a residential home, a builder’s model home, a condo suite, a sales centre, a commercial space or anything else, it’s important to start with an initial space plan. This step involves delving into the requirements for the space. How will the space be used? What pieces of furniture, art, appliances and so on need to be included? What’s the desired flow of the space? We want to make sure that the space functionality will work optimally for the end user.
✨ Next, we further develop the approved design concept and space plan. Here we’re getting into the nitty gritty and the details – because it’s all about the details! The approved concept represents the central theme that all the design elements will be focused on – we’re talking a visual theme and mood that incorporates colour, space, and style. Now that we have a design concept and a space plan, we work to bring them together with more detail and clarity.
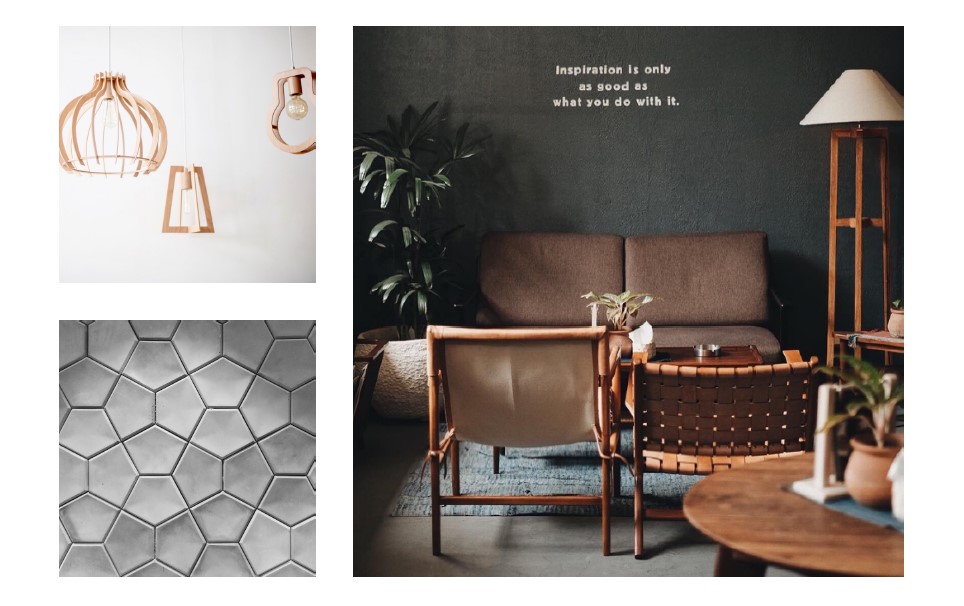
✨ Once this is done, we move on to preparing a “look and feel” board to establish a design direction. We want to bring the design concept to life with even more specifics. The “look and feel” board is essentially a mood board that communicates our concepts and visual ideas. It may include images, materials, pieces of text, colours and more to showcase the style or concept we’re aiming for. Based on your feedback, we make any revisions necessary and get client sign-off.
✨ Finally, as the last stage of Step 2, we receive sign-off on the approved space plan. With clear visual/style direction and a finalized space plan, we’re ready to move on to the next steps: the actual design!
That’s it for Step 2, and we can now get started on Step 3 of the design process – the design phase.
Stay tuned and watch this space to learn more about Step 3!
Questions? Comments? Just comment below and let me know!