That’s right, you got it – it’s time for another installment in my Work Well with an Interior Design Professional series! We’re nearing the end – just one more step after this one!
Today we’re talking about Step 10. Need to catch up? You can read Part 1 here, Part 2 here, Part 3 here, Part 4 here, Part 5 here, Part 6 here, Part 7 here, Part 8 here and Part 9 here.
Step 10: The Furniture and Fixture Installation Phase
Getting close to the end of a project, furniture and fixture installation is an important phase. This phase requires attention to detail and perfect timing, and it’s important to know who’s in charge of what and what to expect if you’re working with a designer, or what your responsibilities are if you’re an interior design professional yourself.
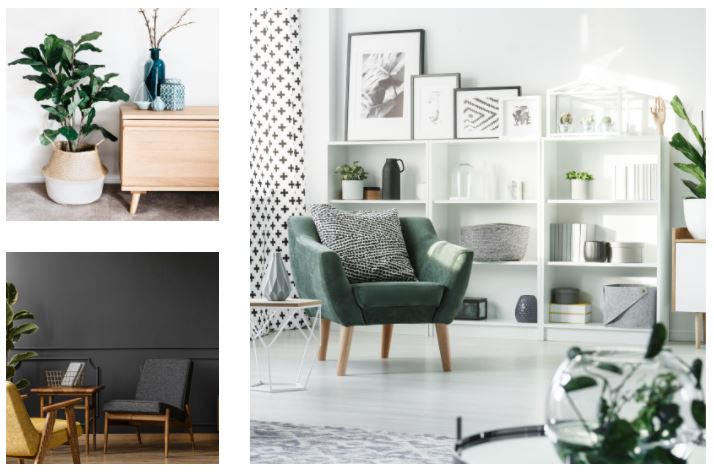
The furniture and fixture installation phase is when furniture, soft furnishings, and decorative items are installed in the home/residence or retail space. This is typically the responsibility of the interior design professional, unless any special circumstances apply. Special circumstances may include furniture or decorative items that were purchased by the client, and which they arranged the delivery of.
Interior design projects often have tight timelines, which is why Step 9 is so important – ensuring that everything is on schedule, that all work in the space has been completed by trades, and that all fixtures and furniture were delivered on time. Prior to installation date, the following should have been completed already:
- All construction
- Windows and doors
- Millwork details
- Flooring and tile installation (floors and walls)
- All appliances installed
- Cabinetry
- Countertops
- Wallpaper installed
- Light fixtures installed
- Painting
- Cleaning
Step 10 – the furniture and fixture installation phase – is often a whirlwind time, so organization is key, as are planning and effective communication.
Installation days can be tedious, long, and detail-oriented – but boy are they satisfying! This is when everything comes together. As an interior design professional, you’ll want to make sure that you’ve got your ducks in a row for these important days. Here are some things you’ll want to have on hand:
- A clipboard and all your checklists! Bring all your important planning documents and applicable checklists
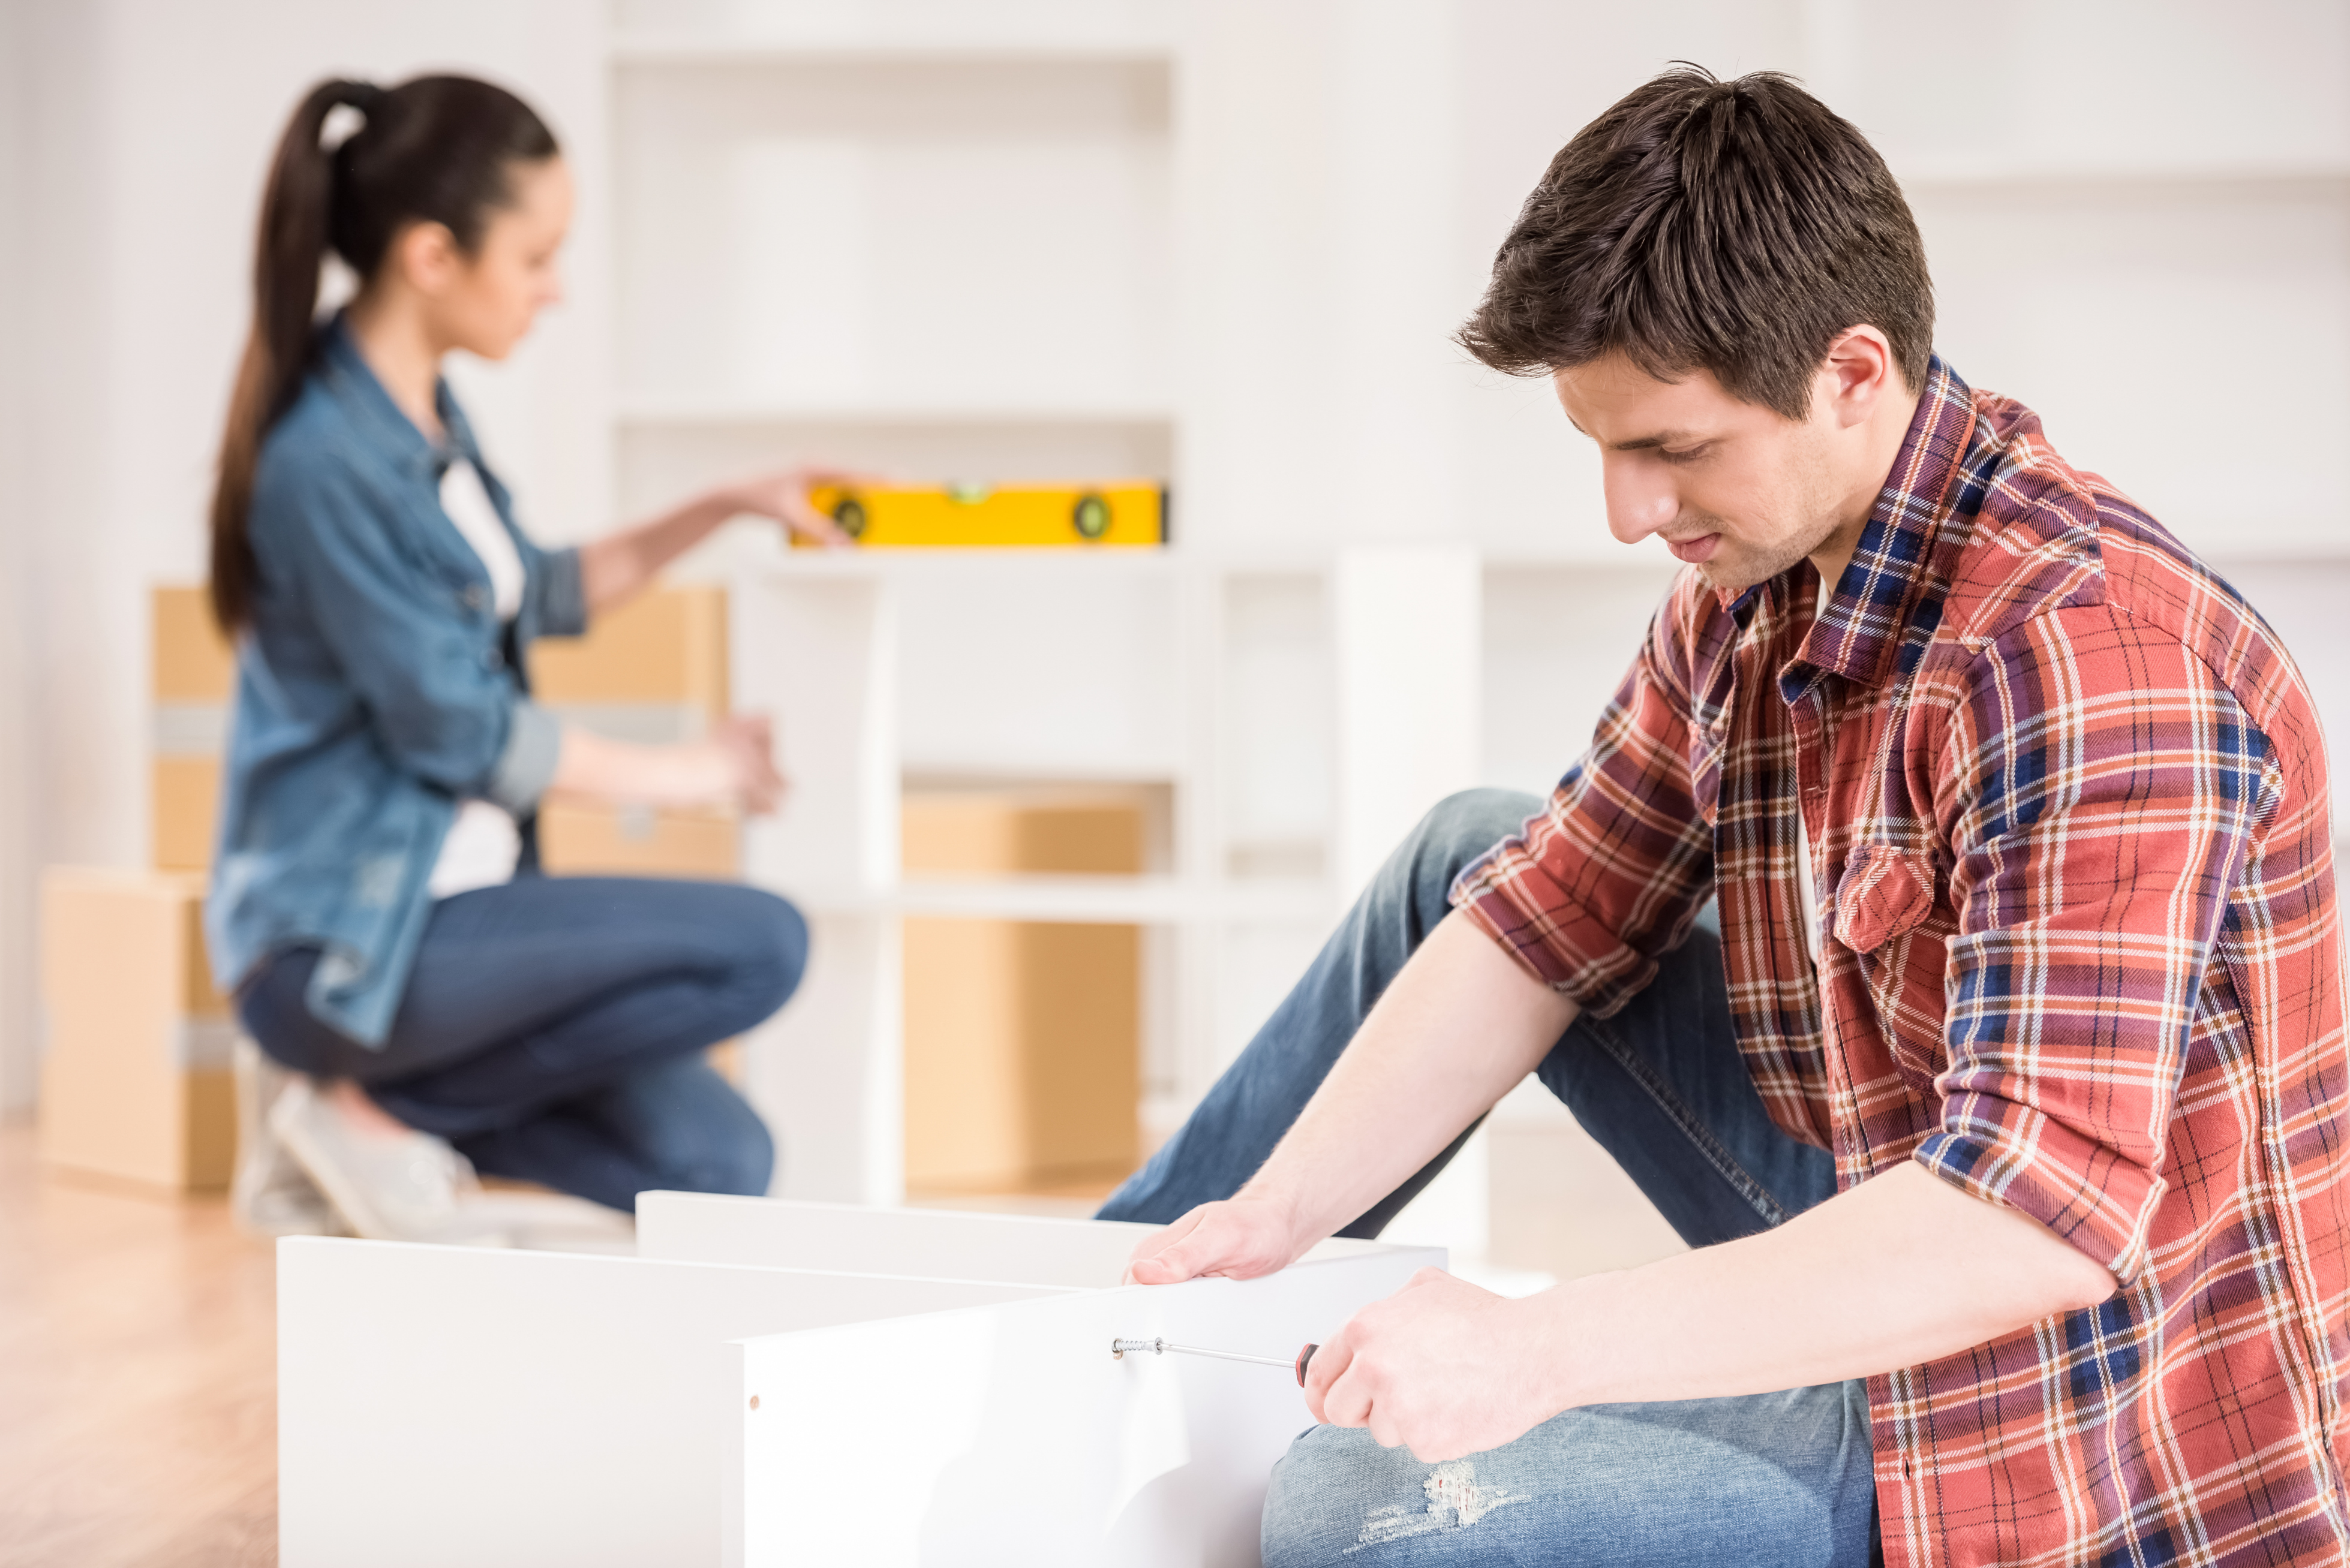
- A great, physically strong team with experience installing furniture
- Cleaning supplies including Goo Gone (don’t forget to take off any sticky labels that may still be resting on lamps and other décor items!)
- Furniture touch-up sticks
- Any necessary tools and hardware
- A mini steamer
- Furniture pads
- Space plans with dimensions
- Measuring tape
Once you get on-site, I recommend sending the client off to enjoy the day – you’ll work faster on your own, and they’ll enjoy the surprise of coming back to see everything installed and looking beautiful!
Make sure your checklists include an order for installation: window treatments, rugs, furniture, artwork, accessories and so on.
At the end of the day, make a list of any missing or damaged items or deficiencies, in case you need to come back and fix anything. An installation may take anywhere from one day to 4 or 5 days, depending on the extent of the project.
It’s important to note that any installations requiring trades are subject to additional costs. This could include any custom pieces, oversized pieces, or otherwise special items that require specific expertise in order to be correctly installed or assembled.
That’s it for Step 10!
Stay tuned and watch my blog to learn more about Step 11. We’re almost finished – Step 11 is the last step!
Questions? Comments? Connect with me on Instagram or Facebook, and let me know!
